We are fine tuning a simple work-flow to classify images (product or setting etc. valve position) as one class or another, e.g. GOOD/BAD or just APPLES/ORANGES. We have tested this solution with a number of categories of images of products and settings and it works very well as long as the subject of interest is prominent in the image. For our solution, we use ..
256 x 256 pixel color (RGB) images (which we convert using Coverseen)
Min. 60 “good” and 60 “bad” images for training and validation. As said, it can be “apple” and “oranges” if that’s the case.
The final target device is our IMX8PLUS industrial gateway with a USB webcam which we will be using a Google Coral TPU for inference acceleration.
DATASET
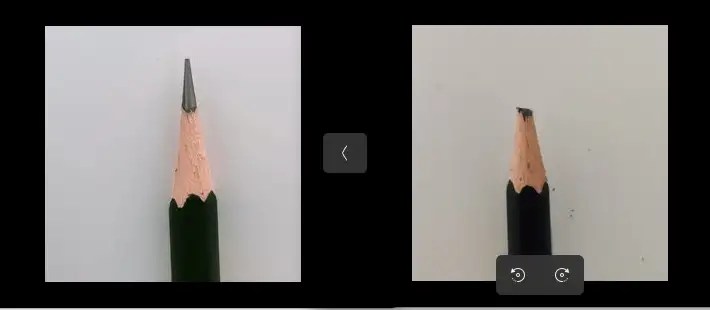
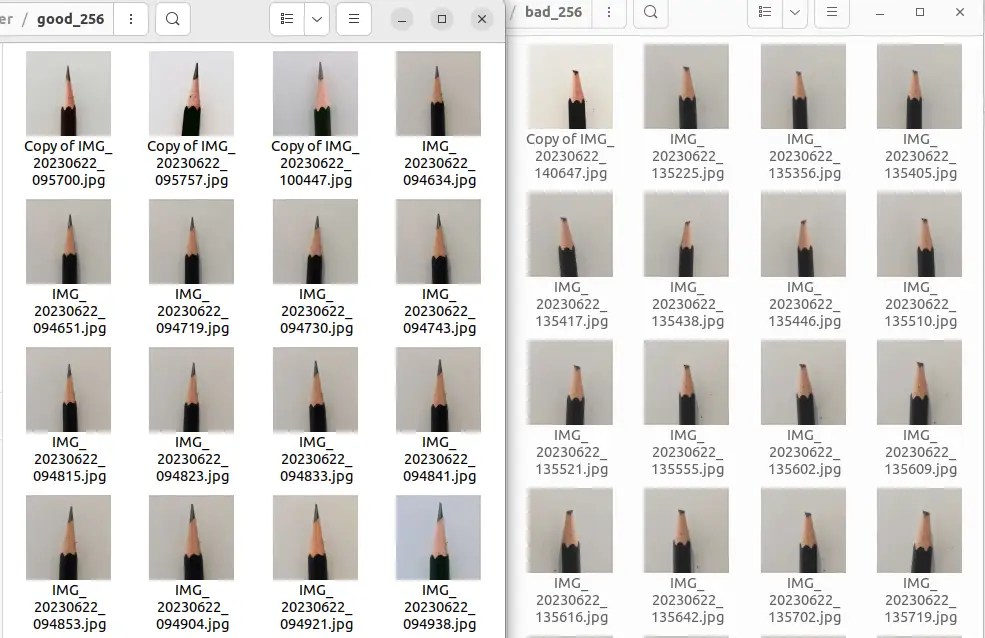
Machine learning starts with a good set of dataset to train our model . We collected into two folders, a set of 60 256×256 “good” pencil images and likewise in the “bad” pencil folder.
We can’t emphasis the importance of the quality of the images; the subject of interest should be front and centre for best accuracy performance model training and inference later.
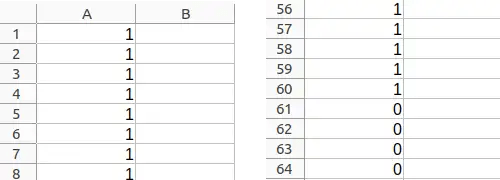
Then, we need a “label” file to indicate to the machine what is “good/apple” and what is “bad/orange”. For our purpose, it’s just a file “label.csv” with rows 1..60 as ‘1’ .. i.e. “good” pencil and rows 61..120 as ‘0’ for “bad” pencil.
ENVIRONMENT SETUP
Now that we have the boring bits out of the way (but important for success bits though). To set out environment in our Ubuntu 22LTS computer, we recommend coding in a Conda environment. After installing Anaconda,
conda create -n tfenv python=3.10
conda activate tfenv
conda install tensorflow=2.0
… the pip install all the usual packages you need pandas etc
PYTHON CODING
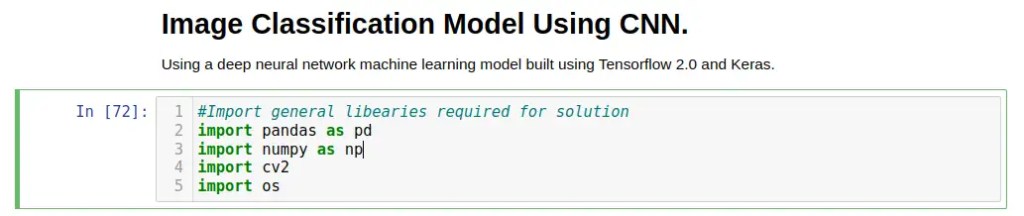
Let’s CODE! … start your “jupyter notebook” and import some libraries
Then we need to convert the “good” and “bad” images from our folders into array x (the dataset) ..
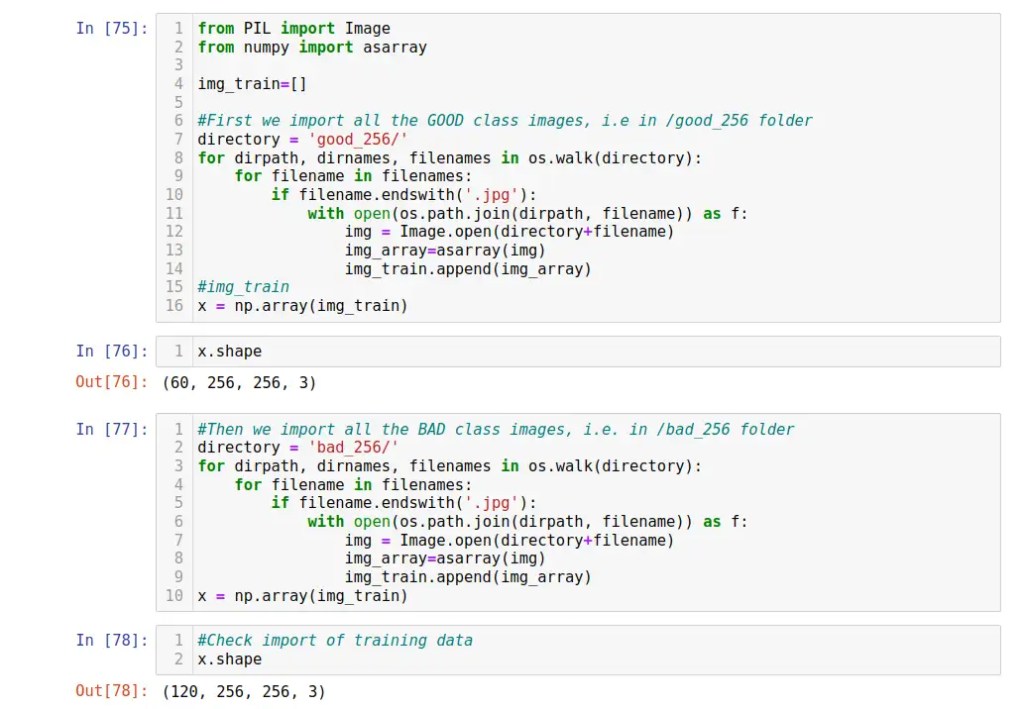
.. so we have 120 images, 60 “good” and 60 bad for our model training and validation. Each image array is a 256×256 array of 3 numbers represent the intensity (0-255) of R,G,B component of that pixel.

.. then we check to make sure the array is accurately imported with matplotlib. With the images dataset properly ingested as array, we now will bring in the “good/bad” label file as an array too ..
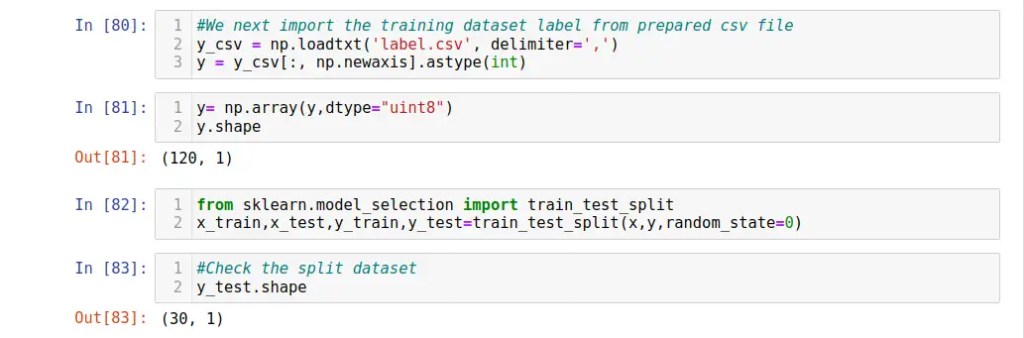
Our “y” label dataset is an array 120 single element of either “1” or “0” for our use case. Then we split the label dataset into 70:30 for training:validation.
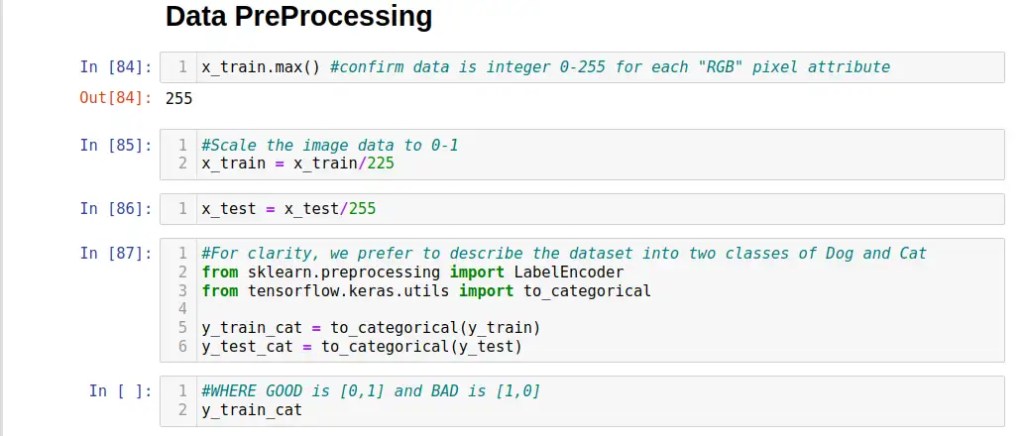
We next scale the 3 x 0-255 RGB values of each pixel to 0-1 to reduce the complexity of machine learning model during training ..
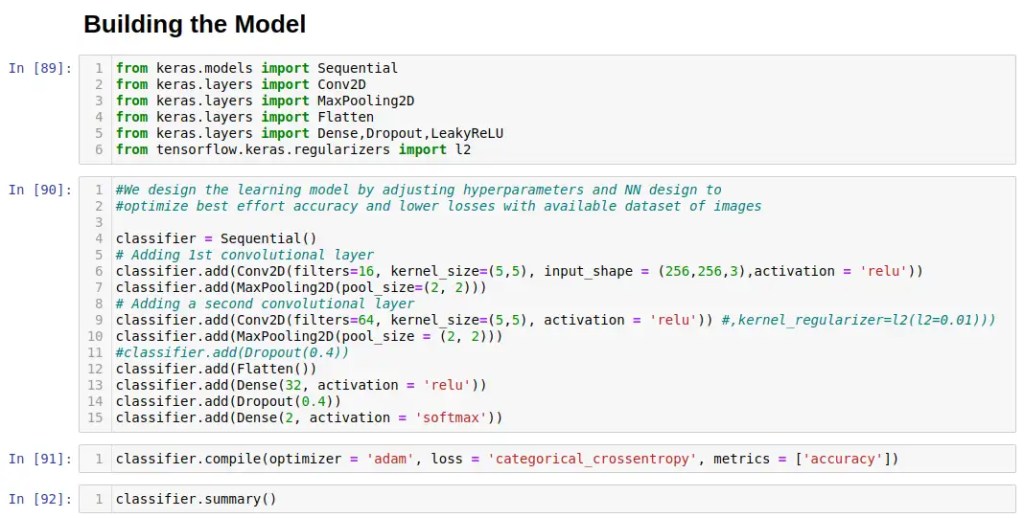
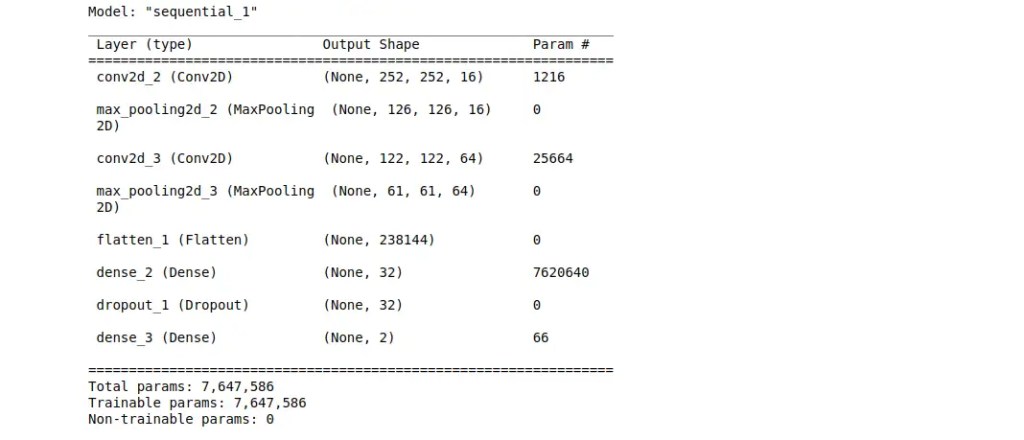
Model Building! We have a designed a relatively robust Convolution Neural Network (CNN) for the 256×256 color images as following, which can still be further optimized by tweaking the various hyper-parameters and adding more hidden layers to suit …
MODEL TRAINING
Time to fire up the GPU … ok, it’s a small model and tiny dataset of 256×256 images, so it only took a few minutes for laptop i7-1260P (no GPU) to crunch thru the model.
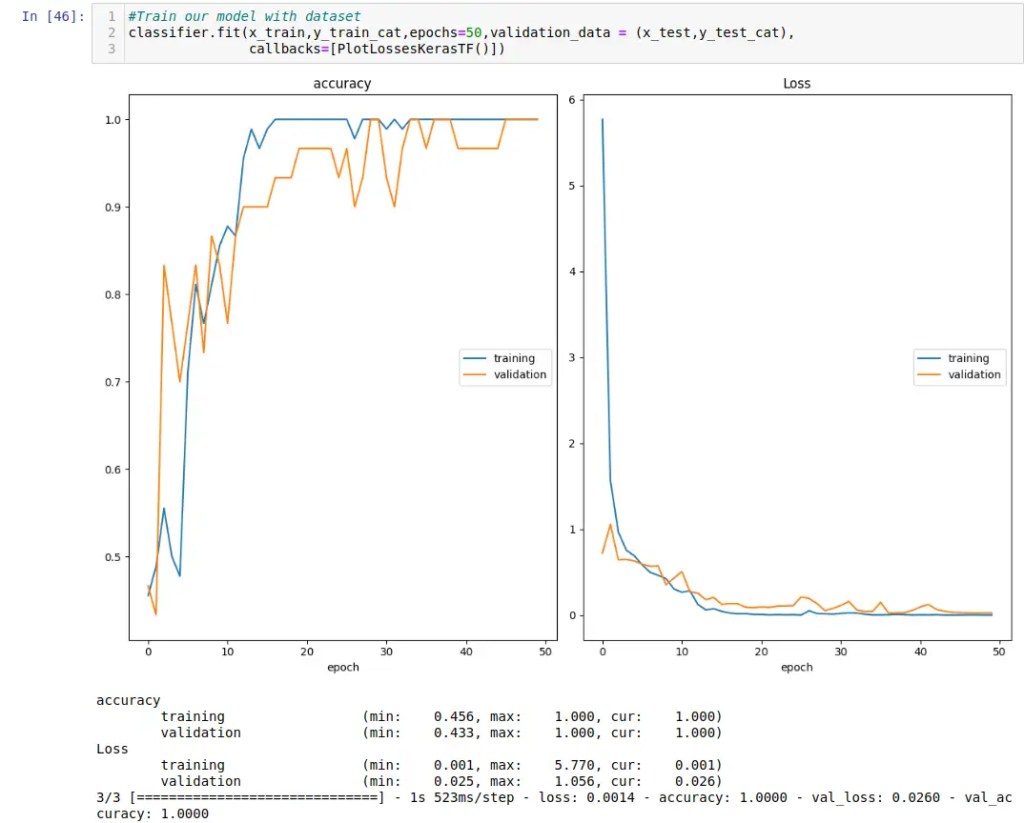
Looks pretty solid the model (we had done numerous iterations to narrow down the model..) and time to check it out it’s evaluation “numbers”…

We are not kidding you here … after a few runs, we nailed a perfect “10” score! Tomorrow is the real test where we will port the the set of optimized Tensorflow Lite model down to our nodeG5 (pre-release) IMX8PLUS gateway with the Coral 2TOPS TPU and test it against ‘live’ images. For now, the show must go on ..
So .. that’s our workflow for collecting a quality (but small) image dataset for machine learning model training, build a robust CNN deep neural network model thru design and hyper-parameter optimisation. We will follow up tomorrow to test the Tensorflow Lite weights in a live test setup. Thank you
I can’t add a link to notebook file, so here is the raw Python code. Hope it helps.
!/usr/bin/env python
# coding: utf-8
# # Image Classification Model Using CNN.
#
#
# Using a deep neural network machine learning model built using Tensorflow 2.0 and Keras.
#Import general libearies required for solution
import pandas as pd
import numpy as np
import cv2
import os
# Import images, class labels and Preprocess
from PIL import Image
from numpy import asarray
img_train=[]
#First we import all the GOOD class images
directory = '/home/stanley/Downloads/pencils/good_256/'
for dirpath, dirnames, filenames in os.walk(directory):
for filename in filenames:
if filename.endswith('.jpg'):
with open(os.path.join(dirpath, filename)) as f:
img = Image.open(directory+filename)
img_array=asarray(img)
img_train.append(img_array)
#img_train
x = np.array(img_train)
x.shape
#Then we import all the BAD class images
directory = '/home/stanley/Downloads/pencils/bad_256/'
for dirpath, dirnames, filenames in os.walk(directory):
for filename in filenames:
if filename.endswith('.jpg'):
with open(os.path.join(dirpath, filename)) as f:
img = Image.open(directory+filename)
img_array=asarray(img)
img_train.append(img_array)
x = np.array(img_train)
#Check import of training data
x.shape
#Quick check of your images imported to machine array
import matplotlib.pyplot as plt
plt.imshow(x[10])
#We next import the training dataset label from prepared csv file
y_csv = np.loadtxt('label.csv', delimiter=',')
y = y_csv[:, np.newaxis].astype(int)
y= np.array(y,dtype="uint8")
y.shape
from sklearn.model_selection import train_test_split
x_train,x_test,y_train,y_test=train_test_split(x,y,random_state=0)
#Check the split dataset
y_test.shape
# Data PreProcessing
x_train.max() #confirm data is integer 0-255 for each "RGB" pixel attribute
#Scale the image data to 0-1
x_train = x_train/225
x_test = x_test/255
#For clarity, we prefer to describe the dataset into two classes of Dog and Cat
from sklearn.preprocessing import LabelEncoder
from tensorflow.keras.utils import to_categorical
y_train_cat = to_categorical(y_train)
y_test_cat = to_categorical(y_test)
#WHERE GOOD is [0,1] and BAD is [1,0]
y_train_cat
# Building the Model
from keras.models import Sequential
from keras.layers import Conv2D
from keras.layers import MaxPooling2D
from keras.layers import Flatten
from keras.layers import Dense,Dropout,LeakyReLU
from tensorflow.keras.regularizers import l2
#We design the learning model by adjusting hyperparameters and NN design to
#optimize best effort accuracy and lower losses with available images
classifier = Sequential()
# Adding 1st convolutional layer
classifier.add(Conv2D(filters=16, kernel_size=(5,5), input_shape = (256,256,3),activation = 'relu'))
classifier.add(MaxPooling2D(pool_size=(2, 2)))
# Adding a second convolutional layer
classifier.add(Conv2D(filters=64, kernel_size=(5,5), activation = 'relu')) classifier.add(MaxPooling2D(pool_size = (2, 2)))
#classifier.add(Dropout(0.4))
classifier.add(Flatten())
classifier.add(Dense(32, activation = 'relu'))
classifier.add(Dropout(0.4))
classifier.add(Dense(2, activation = 'softmax'))
classifier.compile(optimizer = 'adam', loss = 'categorical_crossentropy', metrics = ['accuracy'])
classifier.summary()
from livelossplot import PlotLossesKerasTF
#Train our model with dataset
classifier.fit(x_train,y_train_cat,epochs=50,validation_data = (x_test,y_test_cat),callbacks=[PlotLossesKerasTF()])
#Save the trained model
classifier.save("model")
#Having a look at how our predict mapped out over the validation dataset
from sklearn.metrics import classification_report,confusion_matrix
preds_prob = classifier.predict(x_test)
predictions = np.argmax(preds_prob, axis=1)
predictions
y_test #test data set
# Final model performance metrics we were able to attain with dataset
print(classification_report(y_test,predictions))
# CONFUSION MATRIX
import seaborn as sns
plt.figure(figsize=(10,6))
sns.heatmap(confusion_matrix(y_test,predictions),annot=True)
# https://github.com/matplotlib/matplotlib/issues/14751
# # Predicting a given image
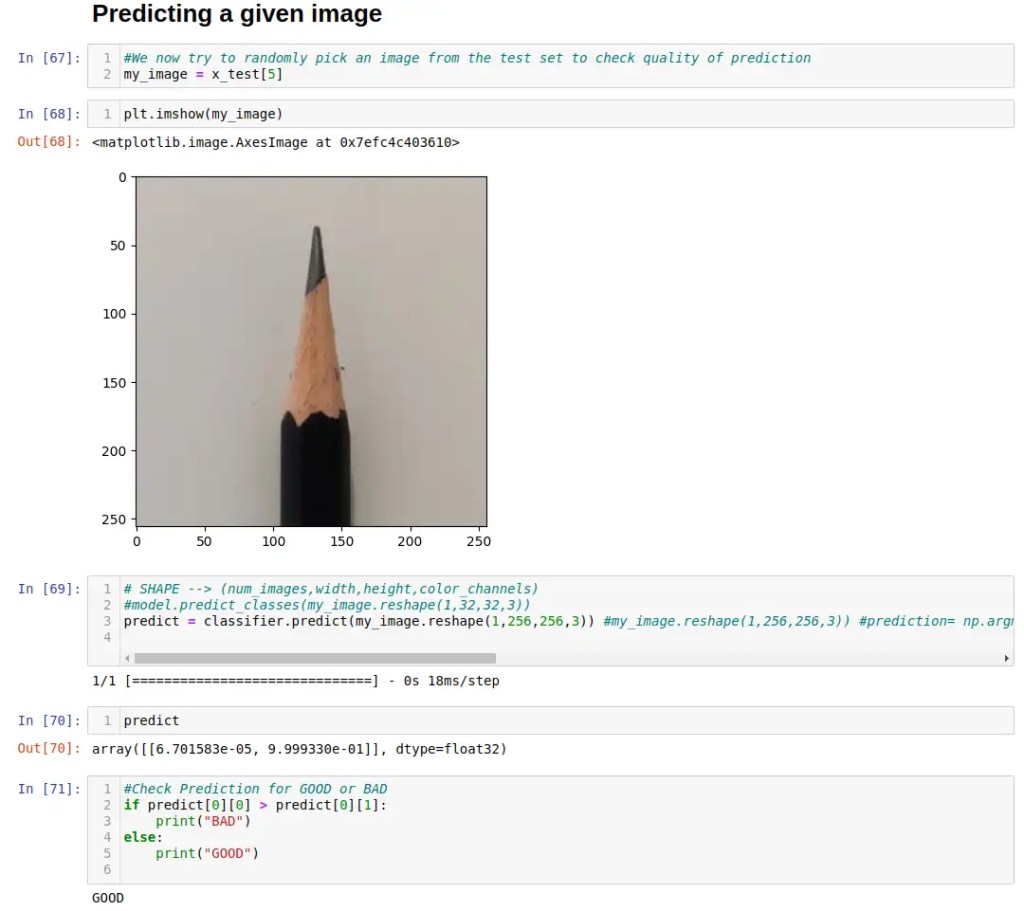
#We now try to randomly pick an image from the test set to check quality of prediction
my_image = x_test[5]
plt.imshow(my_image)
# SHAPE --> (num_images,width,height,color_channels)
predict = classifier.predict(my_image.reshape(1,256,256,3)) #my_image.reshape(1,256,256,3)) #prediction= np.argmax(predict) # Converts the probabilities to the particular class. Use this for multi-class classification. Use this instead. This will output probabilities
predict
#Check Prediction for GOOD or BAD
if predict[0][0] > predict[0][1]:
print("BAD")
else:
print("GOOD")
